Pot Lights Done Right: How Many, Where, and What Goes Wrong
Alderbridge ContractingJuly 21, 2026
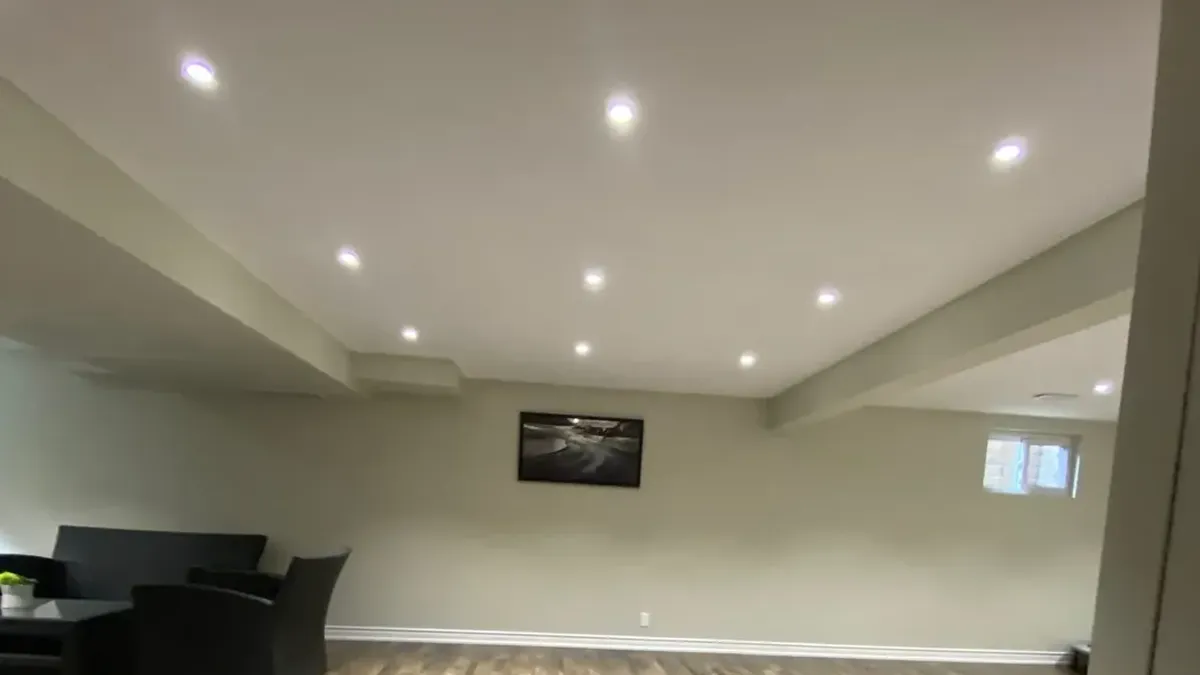
If there is one thing almost every renovation we quote includes, it is pot lights. Kitchens, basements, living rooms, hallways. People love them, and they are right to. A room with good recessed lighting feels bigger and calmer than the same room lit by one fixture in the middle of the ceiling.
They are also easy to get wrong. The usual mistake is not the fixture. It is the layout.
The "airport runway" is what we see most. Lights laid out in a perfect grid across the ceiling, evenly spaced, with no thought for what is under them. The floor gets lit beautifully. The walls, the counters and the faces of the people in the room stay dim. A grid looks tidy on a drawing and flat in real life.
Light the things you look at and the places you work. In a kitchen, the lights over the counters should sit roughly above the front edge of the counter, not over the middle of the floor behind you, or you spend every evening chopping vegetables in your own shadow. In a living room, a row a little way in from the walls washes them with light and makes the room feel larger. Over an island, the island gets its own lights.
How many? A common starting point is to space them about half the ceiling height apart, so roughly four feet on an eight-foot ceiling, then adjust for what the room is for. Basements and kitchens want more. Bedrooms want fewer than people think, and you will want them on a dimmer.
Colour temperature matters more than people expect. Bulbs and fixtures are rated in kelvins. Around 2700K to 3000K is warm and suits living rooms and bedrooms. 3000K to 4000K is crisper and works in kitchens and bathrooms. Above that, a house starts to look like a dentist's office. Pick one temperature per open space and stick to it, because mixing 2700K and 4000K in the same sightline looks wrong even to people who could not tell you why.
Look at the CRI too, the colour rendering index. Fixtures rated 90 or above make food, skin and paint colours look like themselves. Cheap ones can make a beautiful white kitchen look faintly green.
Dimmers are where a lot of LED jobs go sideways. Not every LED fixture works with every dimmer, and a mismatch shows up as flicker, buzzing, or lights that never quite turn off. Use a dimmer the fixture manufacturer lists as compatible. It is a five-minute check that saves an annoying callback.
Most of what we install now are slim LED wafer lights rather than the old metal cans. They are thinner, run cooler and fit between joists where a can would not. Joists still decide where lights can actually go, though. A layout drawn without knowing which way the joists run will meet reality on day one.
Now the part nobody mentions. A top-floor ceiling, the one with the attic above it, is also your house's air barrier. Every hole you cut in it is a gap where warm, moist air can leak into the attic. Old-style cans were notorious for this. That warm air is one of the main causes of ice dams in winter and frost in the attic. If you are putting lights in a ceiling below an attic, use fixtures rated for insulation contact (IC) and airtight, and seal around them. Do not let anyone pull the insulation back to make room.
Plaster ceilings, common in older Etobicoke houses, need care too. Cutting into plaster on lath can crack it well beyond the hole if it is done carelessly.
And yes, it needs an electrician. Adding pot lights is electrical work, and in Ontario that means a licensed electrical contractor and an ESA notification. It is not a big deal or a big cost. It is just the way it is done.
Related posts
- The Spring Walk-Around: What to Check on Your House After a Toronto WinterAn hour outside in April can save a wet basement in May. The checks we would do on our own houses once the snow is gone.
- Tips for Hiring the Right Contractor in EtobicokeFinding the perfect contractor in Etobicoke can be tricky. Our expert tips will help you choose wisely for your next project.
- The Importance of Regular Home MaintenanceLearn why regular home maintenance is essential for preserving your home’s value and preventing costly repairs.